One of my favorite things about blogging is having the ability to connect with and discover so many other like-minded individuals. We all have our own definitions of healthy living and apply it differently, but gosh it is so fun to read other’s stories and recipe inspiration.
Danielle Walker with Against All Grain is a favorite of mine. She’s truly fantastic. She’s managed to combat and autoimmune disease with a very specific diet; her recipes are mainly grain, gluten and dairy free. I’ve read portions of her cookbook and avidly read her blog, which are both resources of mine.
I have a laundry list of her recipes that I’m dying to try, and I’m tackling one of hers today. This is her recipe for Mexican Chocolate Rocky Road Ice Cream where I’ve left out the “Rocky Road”. I was never a big Rocky Road ice cream fan, but I do get a craving for the classic chocolate stuff.
Just a little note, this is a fantastic recipe using natural and whole ingredients that happen to be extremely allergy friendly. Yes, the sugar and fat sources are natural and much easier for our bodies to process, but there is still sugar and fat in the ice cream. If you are on a journey for weight loss, I think people need to remember that portion control is key. Absolutely, you can indulge, especially in whole food recipes like this. Keep in mind, that this is still a sweet treat, and if weight loss is a goal, eat in moderation. I love this recipe because it is so thick and rich, you really only need a small serving to fill your craving. Coming from me, that is a statement because portion control is TOTALLY my biggest obstacle.
I don’t have an ice cream maker, and I’ve tried my hand at several no churn variations before and have been pretty disappointed. Do you notice that I often talk about my kitchen “flops”? Haha. It’s because it happens all the time. Don’t ever get discouraged to cook because you might fail. There’s always peanut butter.
Anyway, back to ice cream flops. I find that a lot of no churn varieties turn out crystalized and crunchy. I don’t know about you, but one of my favorite things about ice cream is that velvety smooth texture. This recipe BLEW MY MIND, Y’ALL.
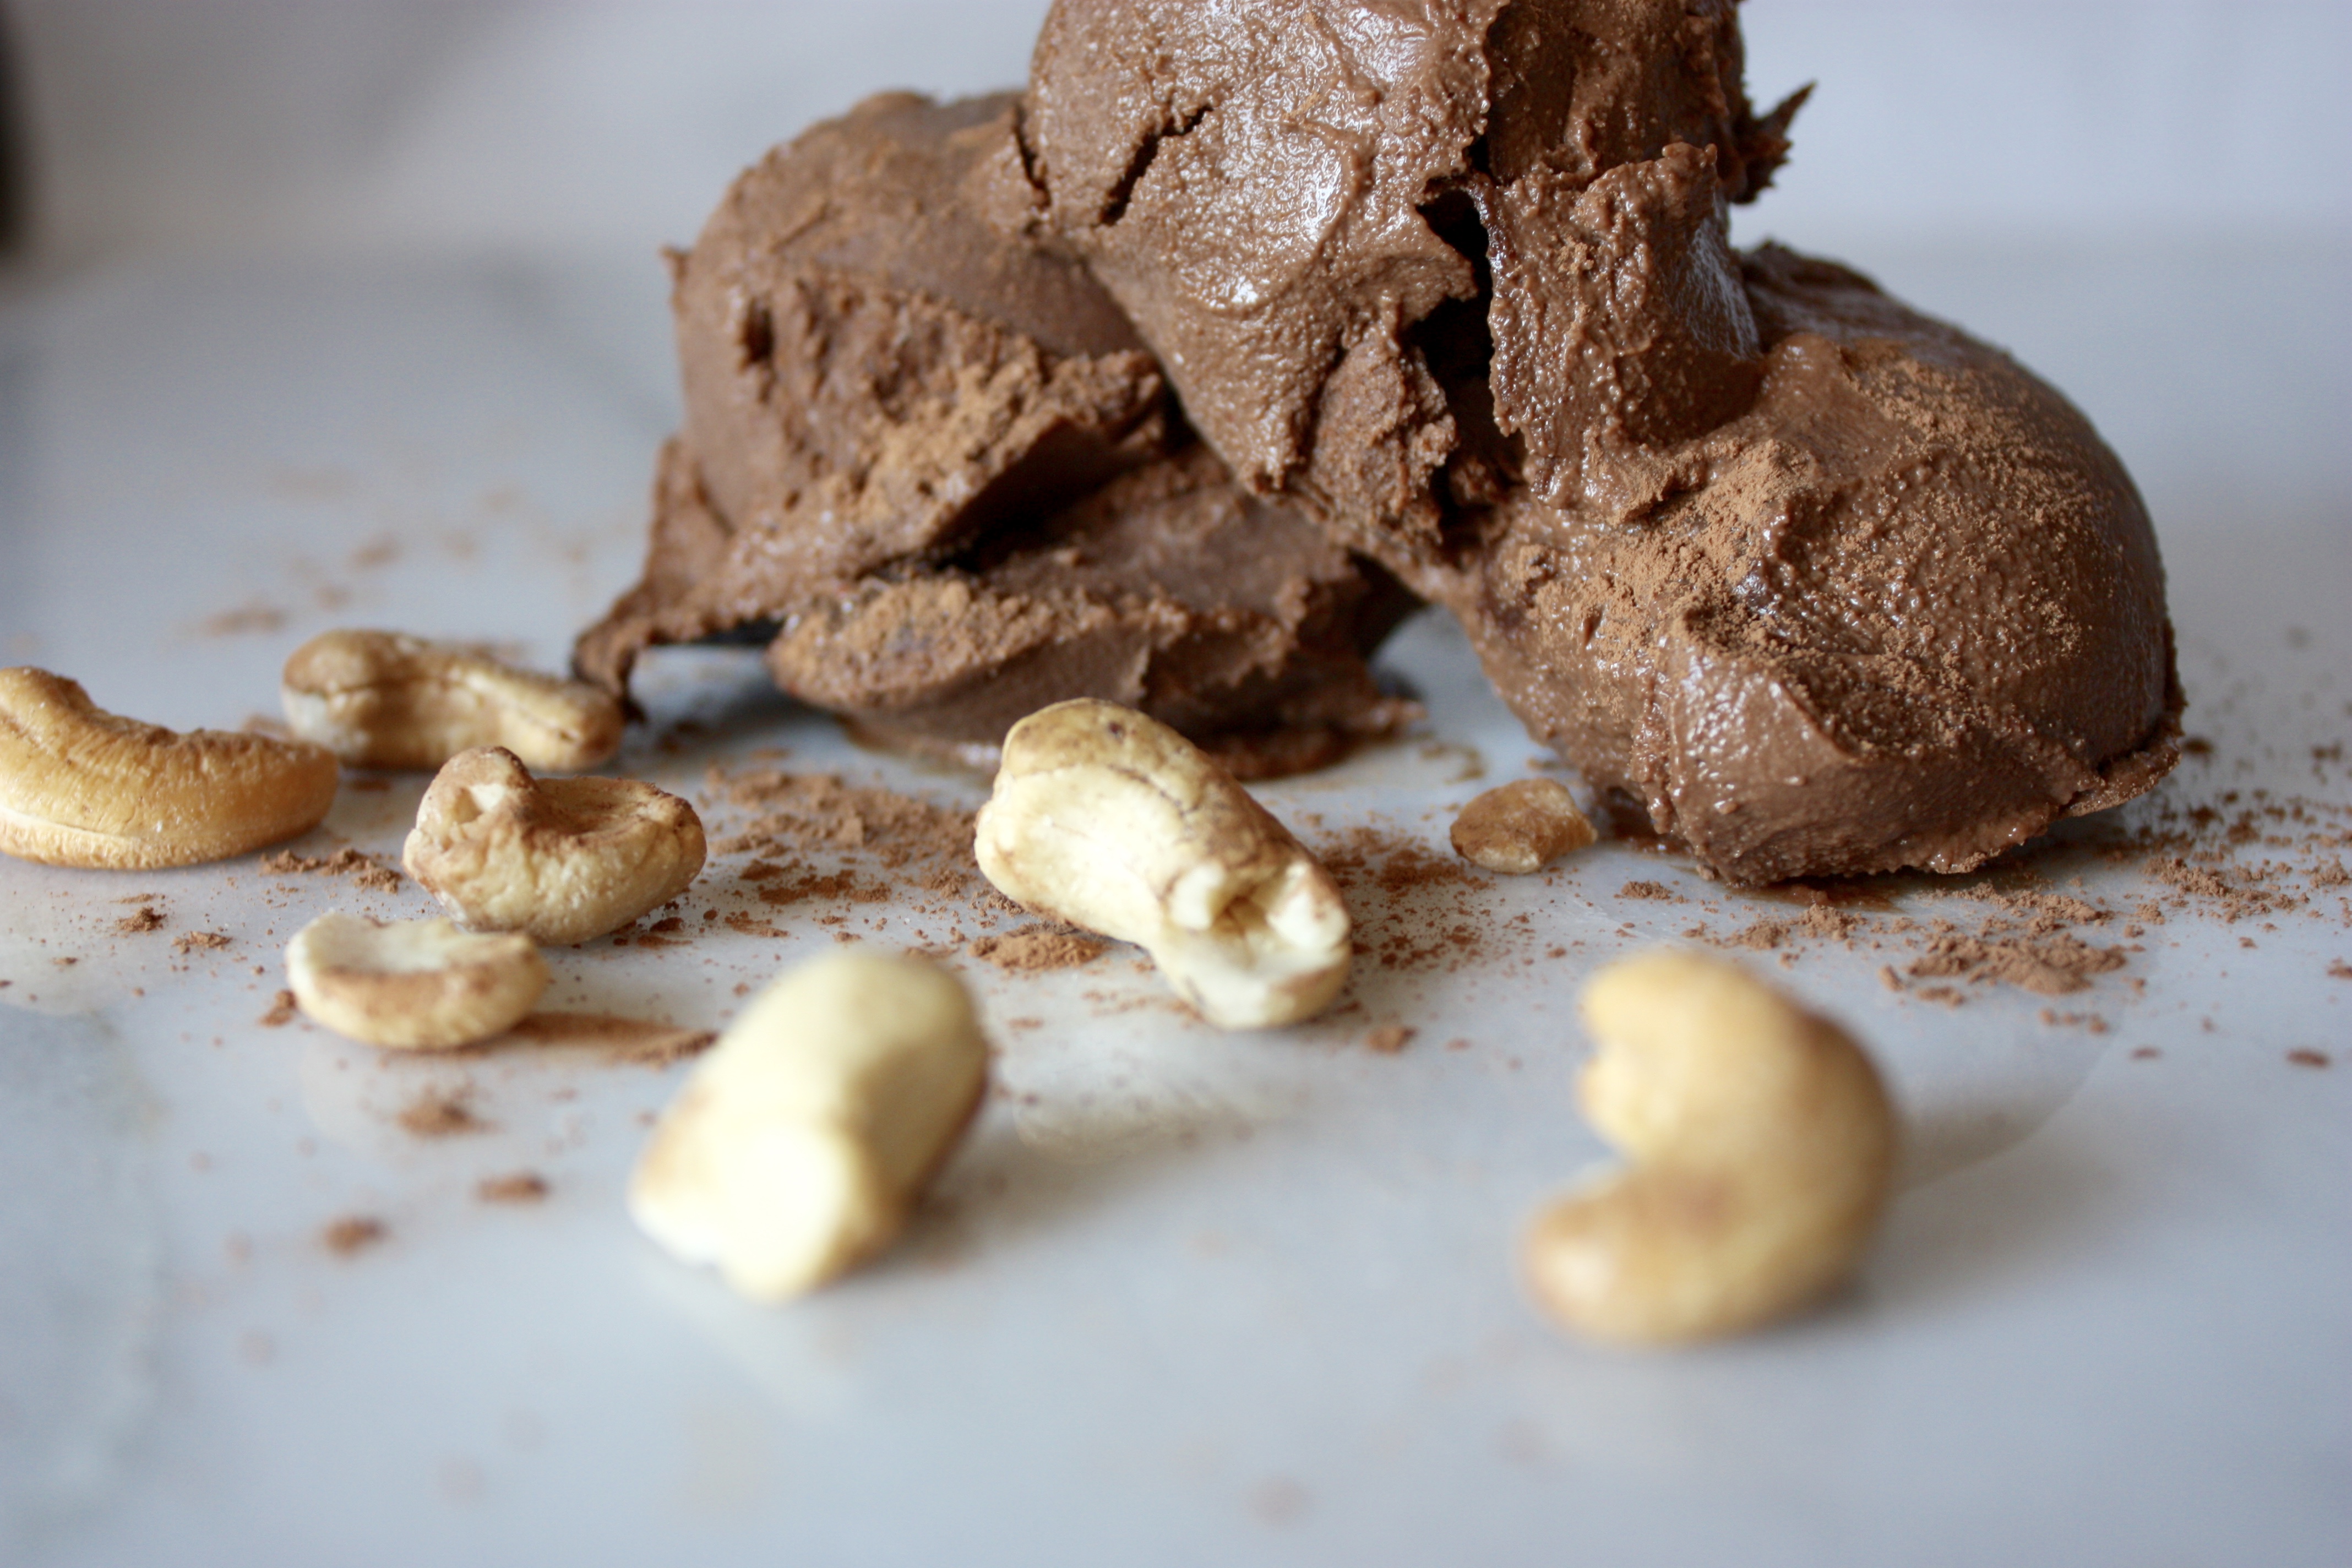
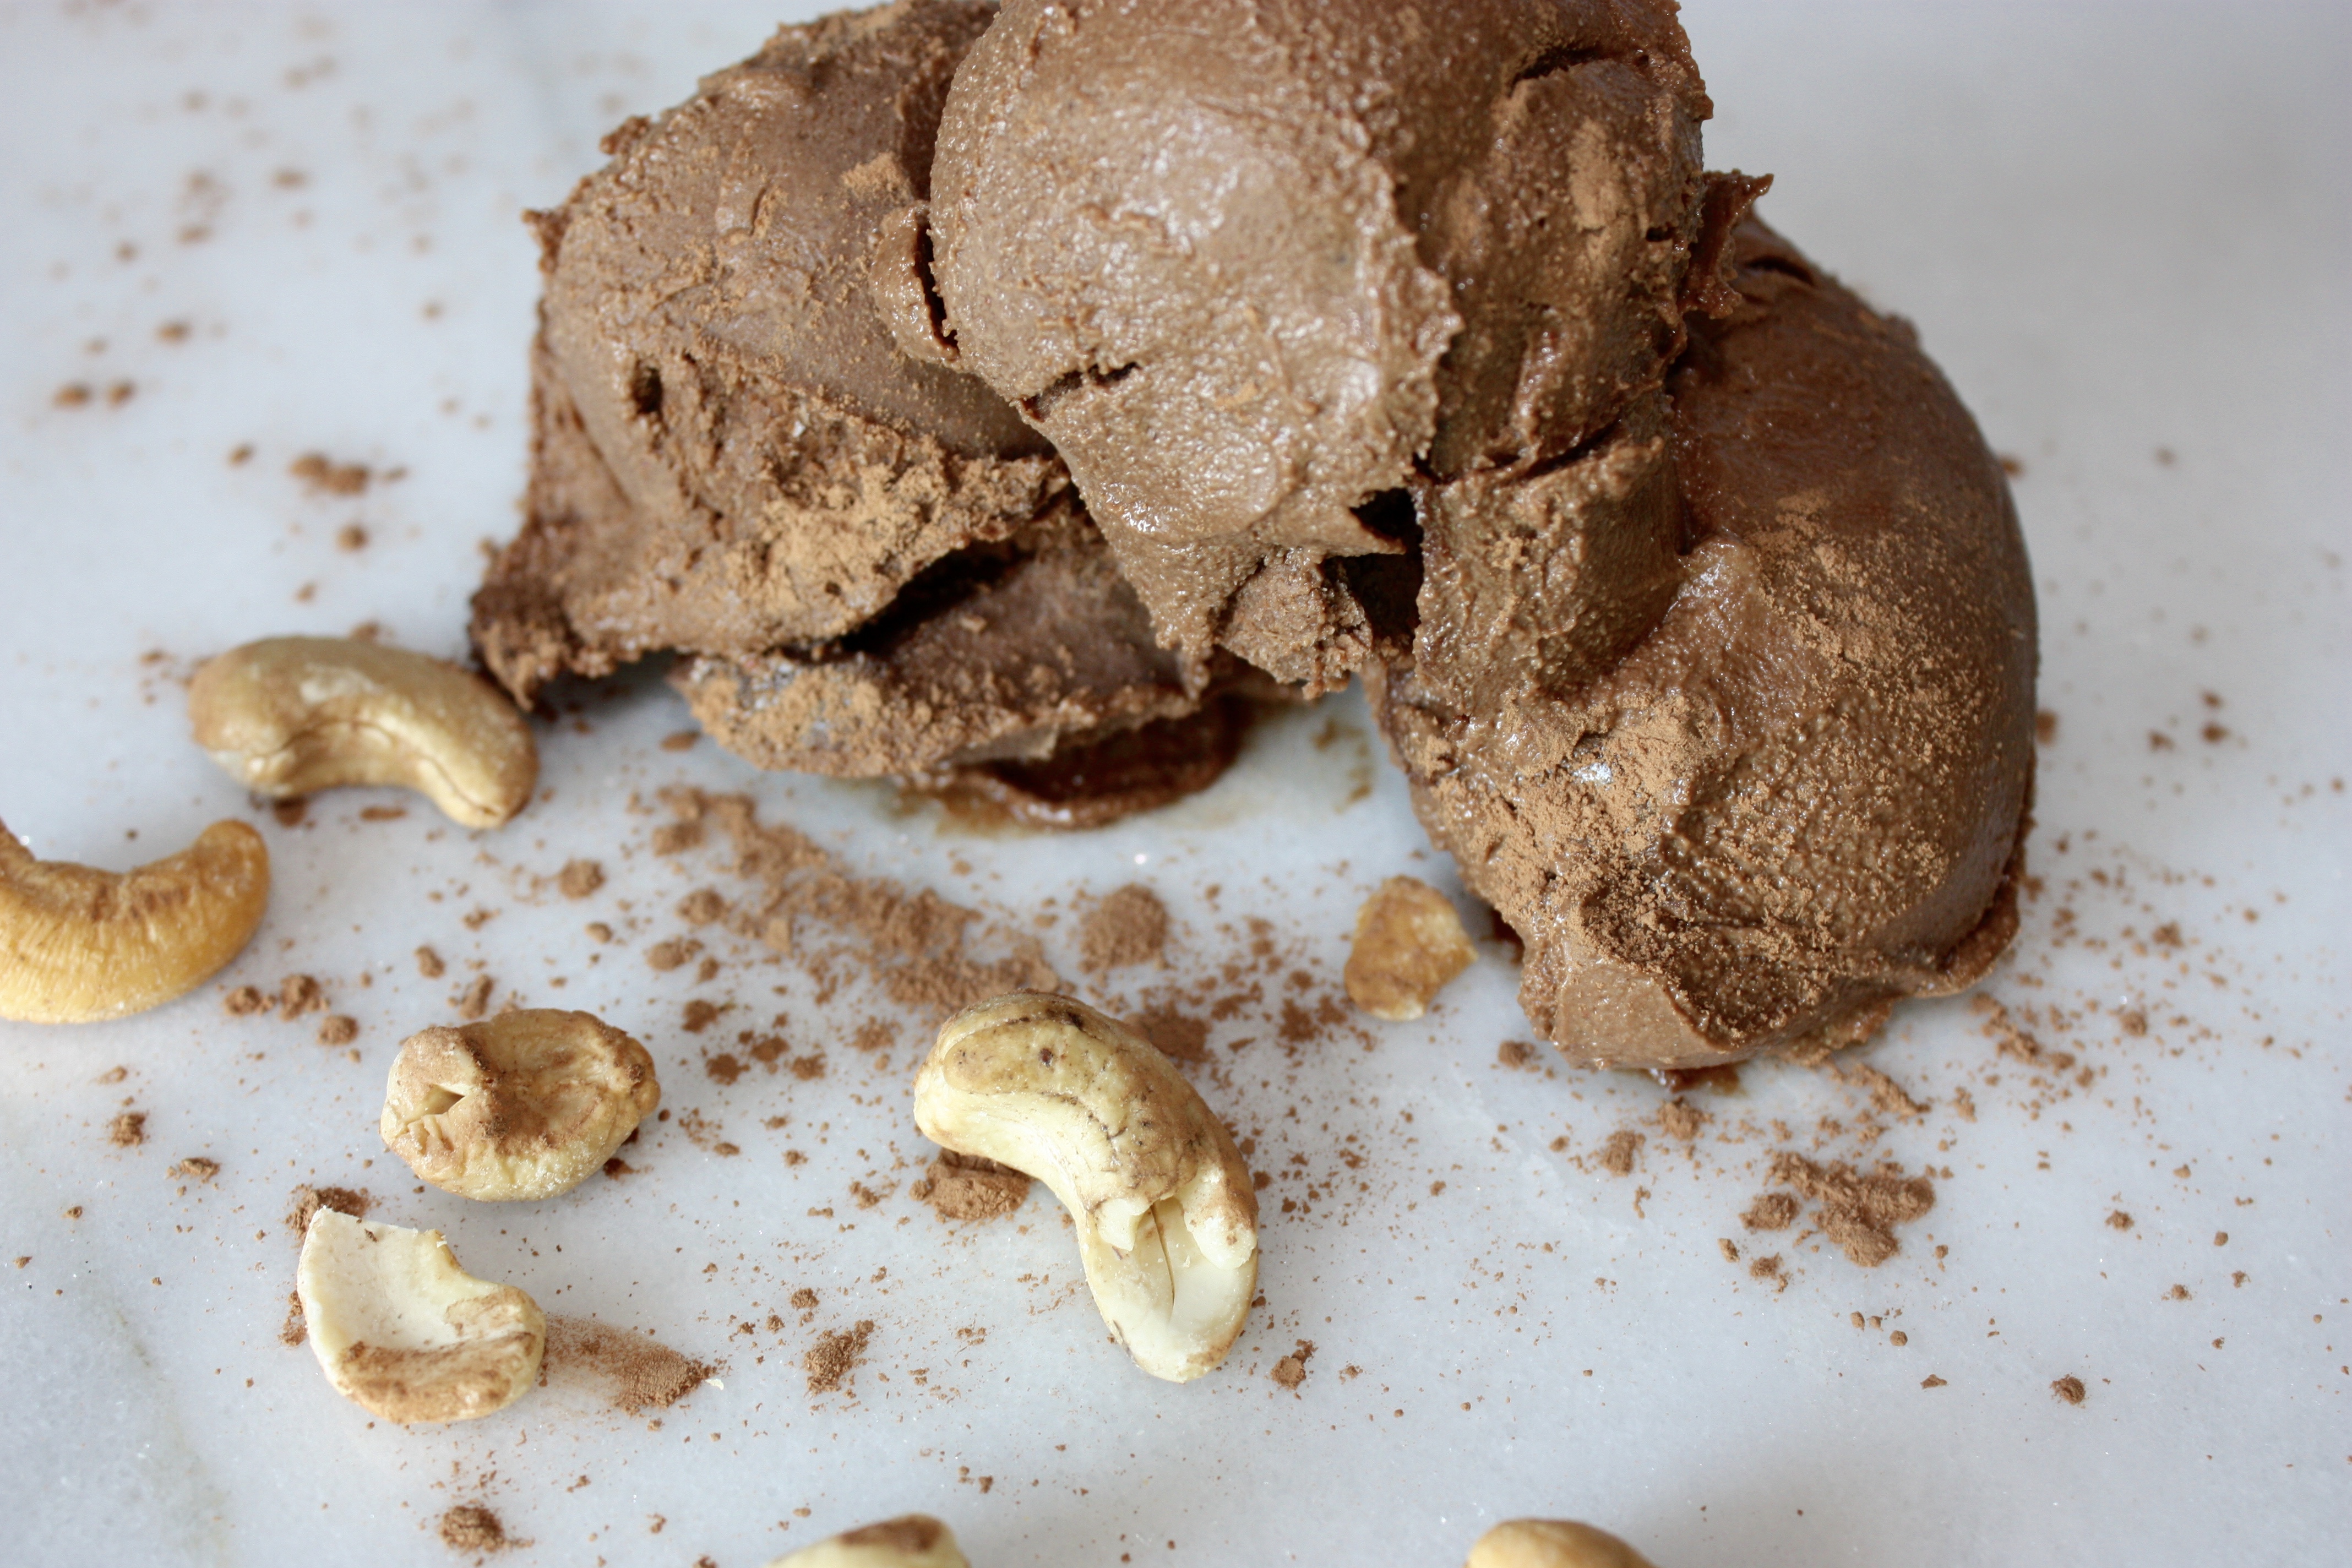
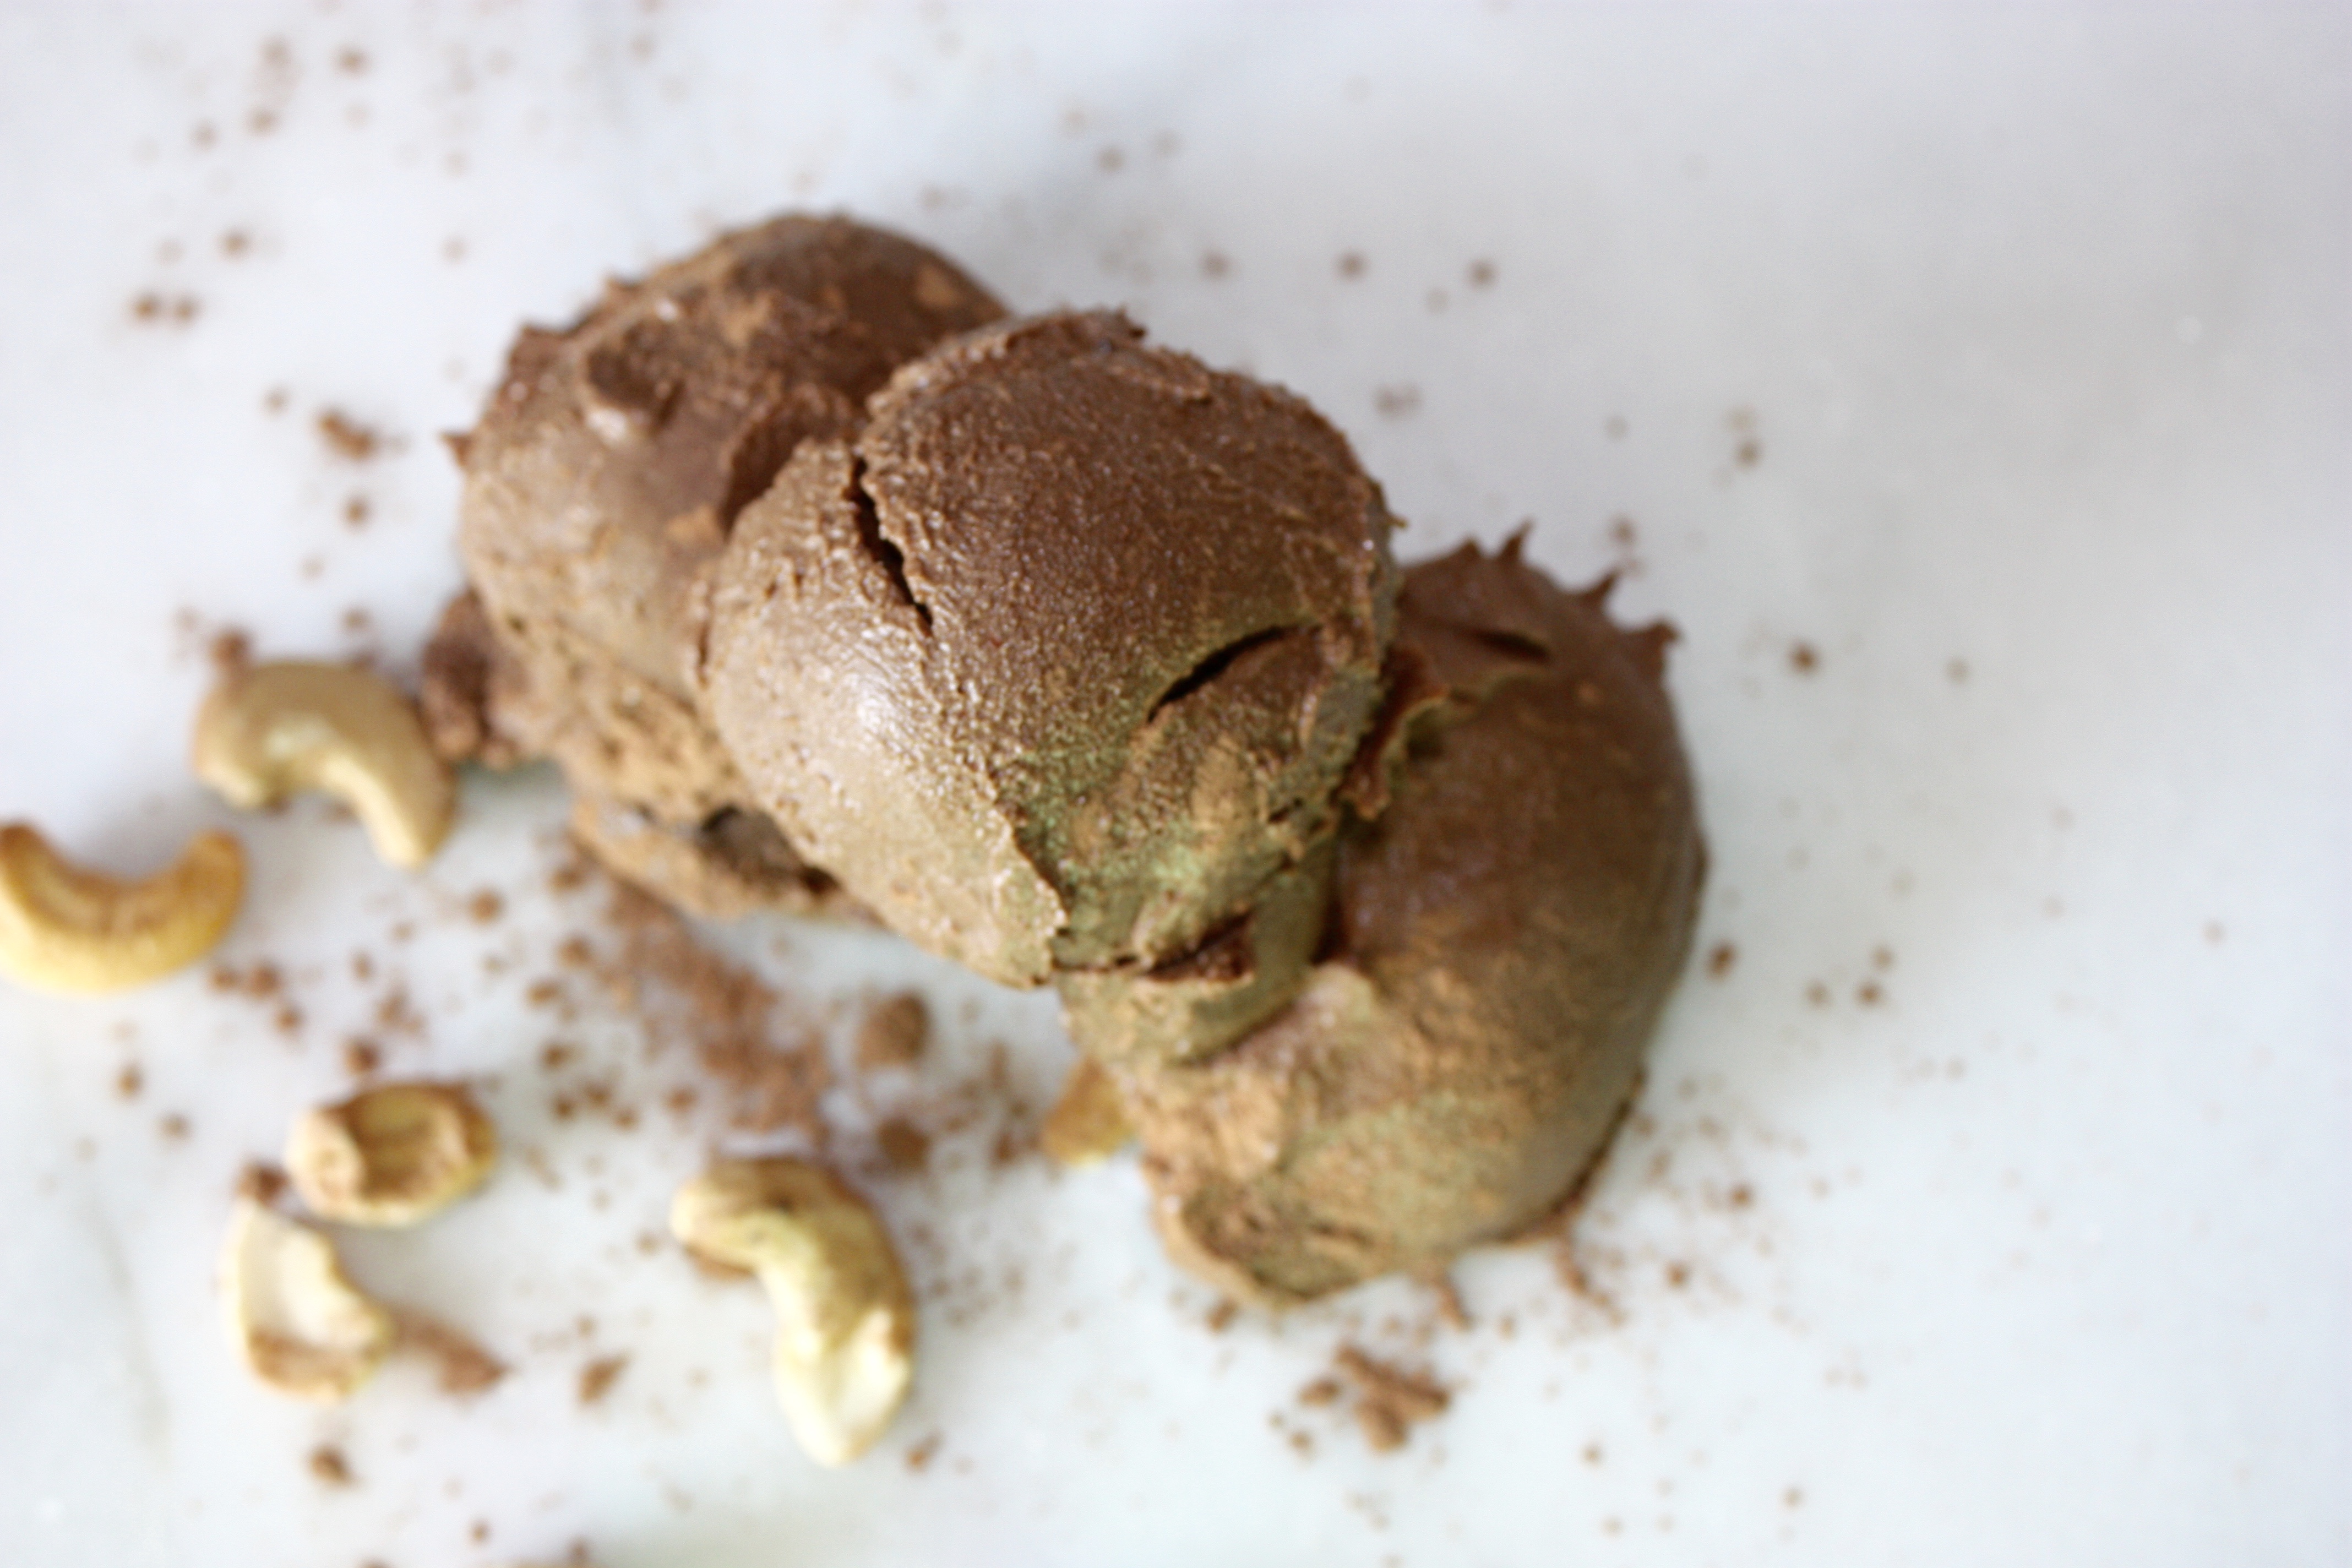
If you’re not a chocolate lover, this really may not be the ice cream for you. This is incredibly rich and creamy, you won’t believe it’s actually made from cashews! When I make this again, I may actually up the spice ante because I didn’t really feel a kick at all; I think the spices make for a really well-developed chocolate flavor. Therefore, if you aren’t a spicy food person, I recommend actually adding the ratio of chili powder and cayenne mentioned below. I wouldn’t steer you wrong, trust me.
This recipe is like baking a cake; don’t try any substitutions because the ratios are exact for a reason.
You’ll start by soaking your cashews (UNSALTED only) in a bowl of water for two hours. This softens them for blending. Basically, you’re making your own cashew milk.
When the cashews have almost finished soaking, place 1/4 cup of water into a medium saucepan with the gelatin to allow it to bloom for 10 mins.
When your cashews have soaked, drain and rinse them really well. Place them into a blender with the 1 and 1/4 cups of water and maple syrup. Blend on low for 30 seconds and for an additional minute on high. You’ll want to use pure maple syrup. Make sure this is really smooth.
Pour your cashew milk into the saucepan with the gelatin and water and heat over medium until the gelatin has dissolved. You’ll notice that the mixture gets significantly thicker; I recommend stirring it with a whisk constantly as it does so. Remove this from the heat and add in the chopped UNSWEETENED chocolate. Stir until that melts and pour the mixture back into the blender.
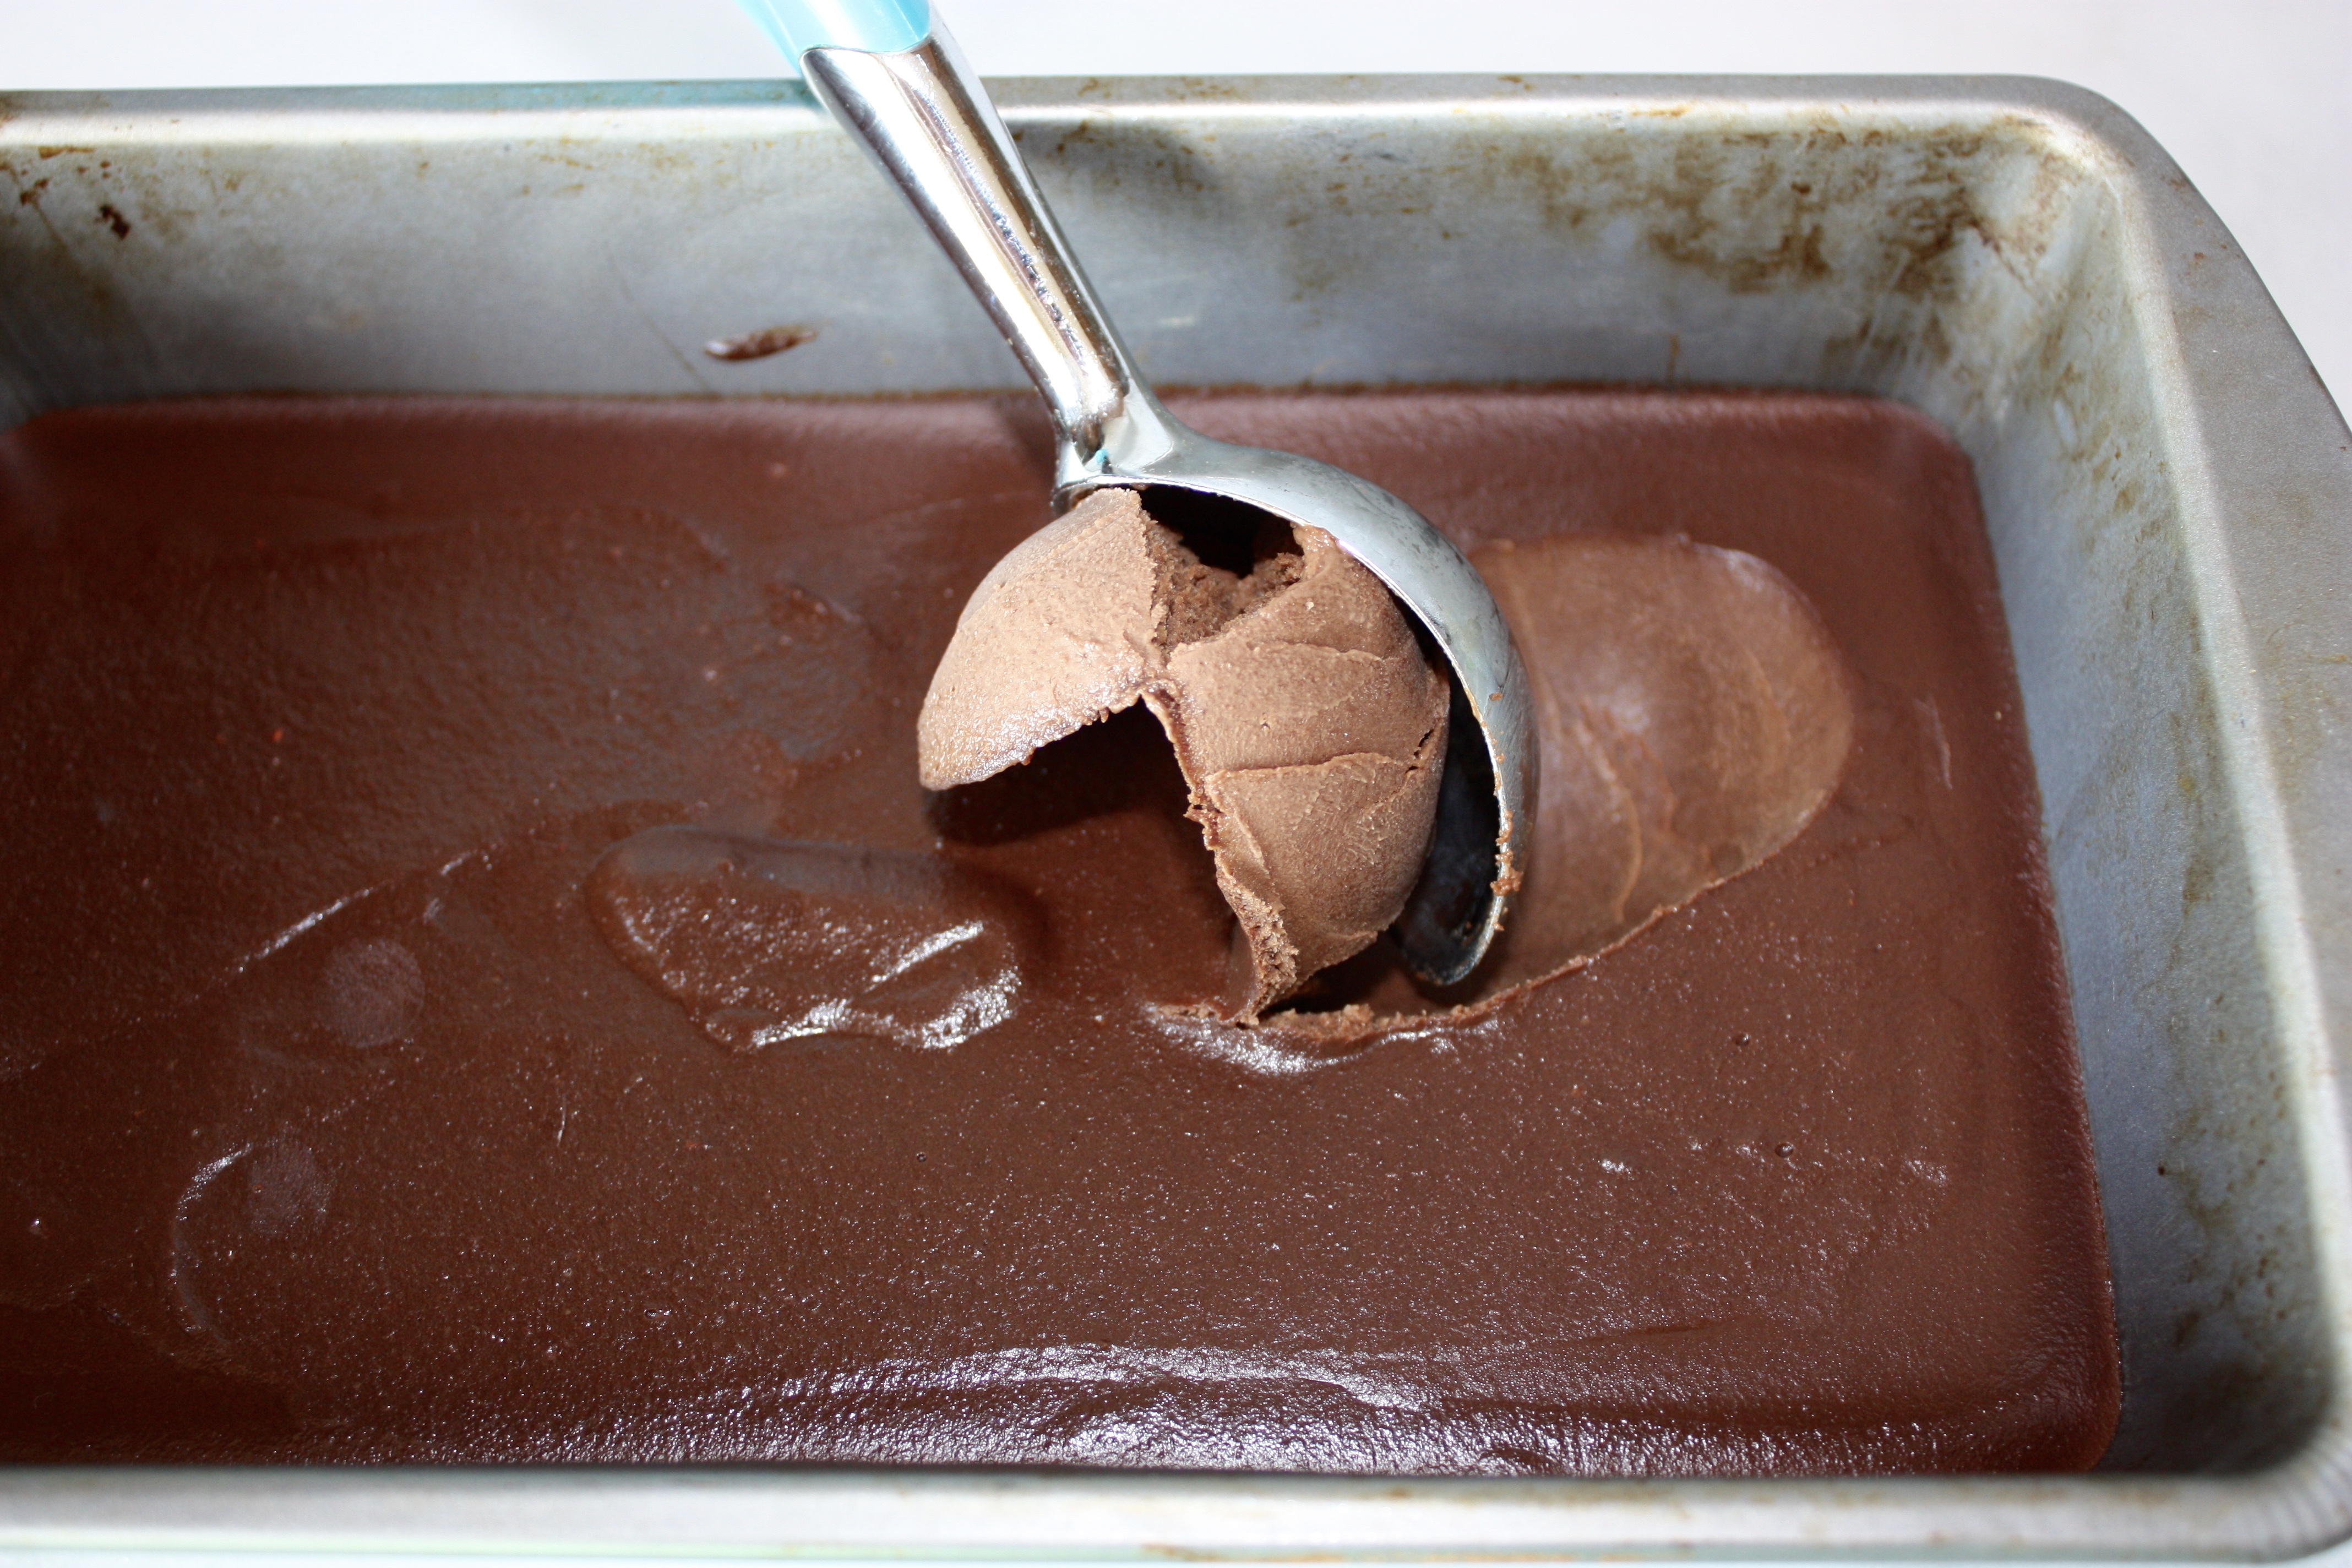
Add the cocoa powder (UNSWEETENED), lemon juice, chili powder, cayenne, & salt to the blender. Blend on high for one minute. This puts air in the “batter” so the ice cream has that custardy texture. Pour this into a loaf pan or small dish and pop it into the freezer for an hour. Remove it, and cover the top with plastic wrap, pressing it into the ice cream. Freeze for an additional 6 hours, at least. I started soaking my cashews while I was making dinner and the ice cream was in the freezer by bedtime to be enjoyed the next day!
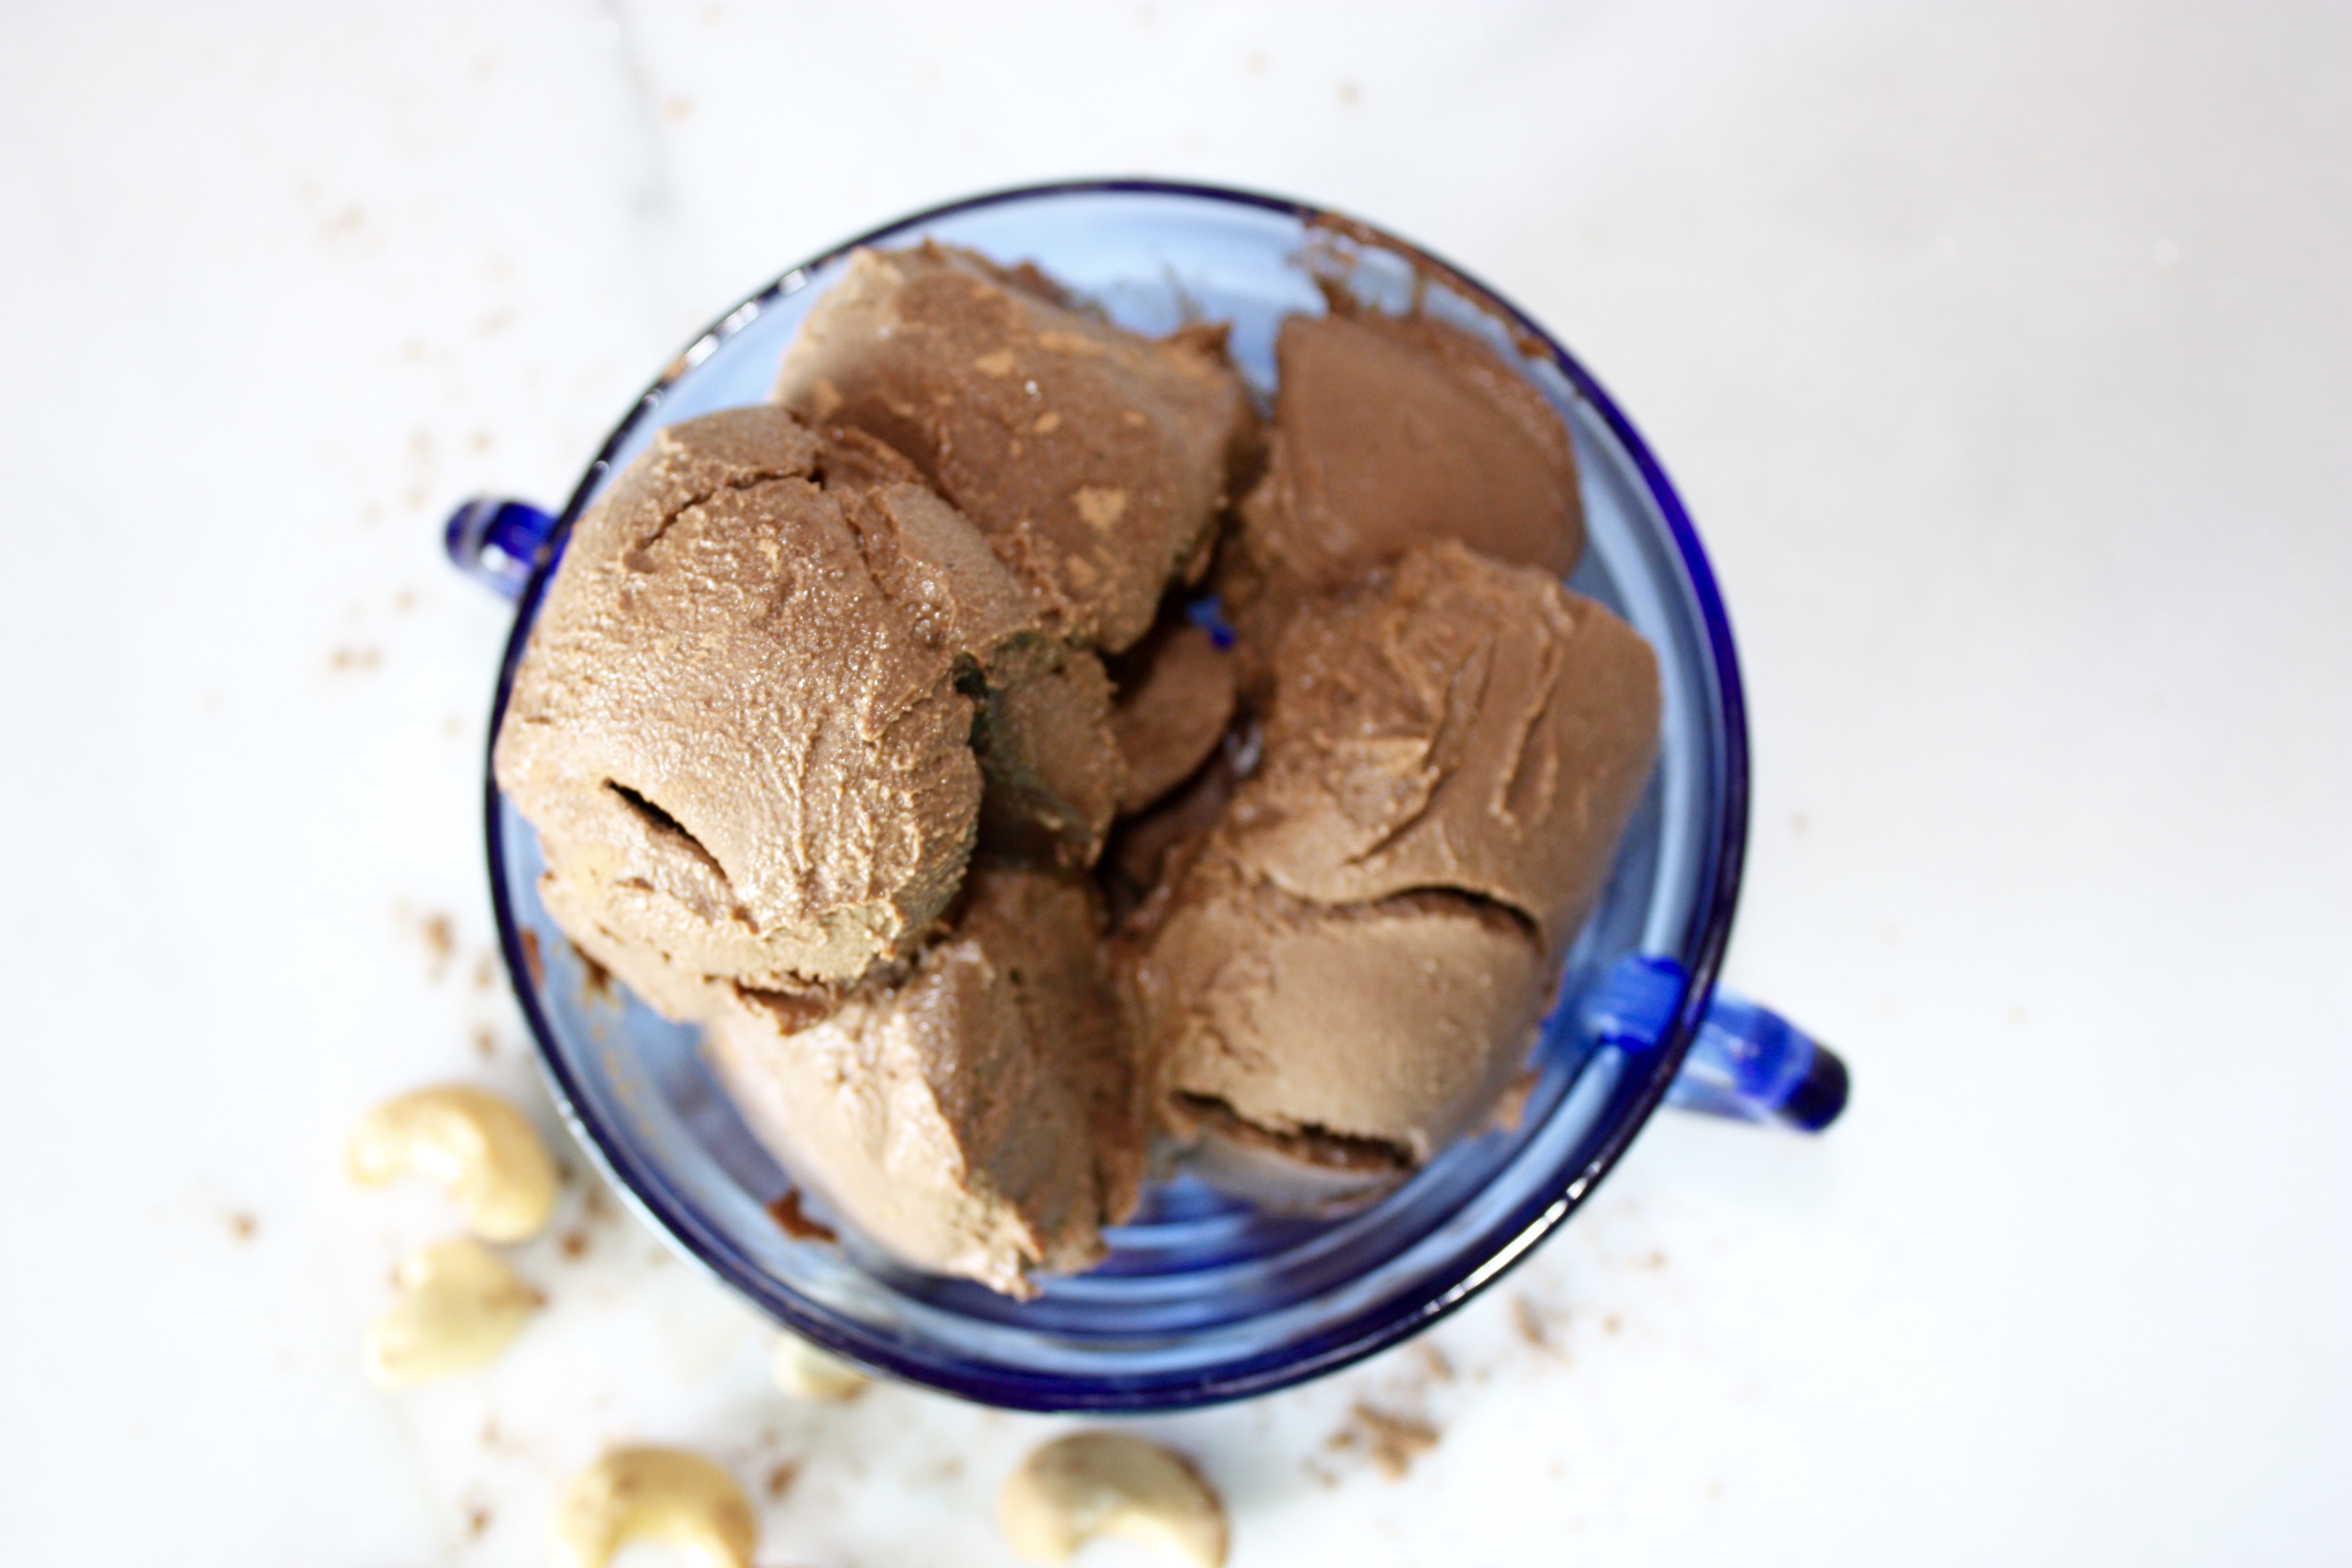
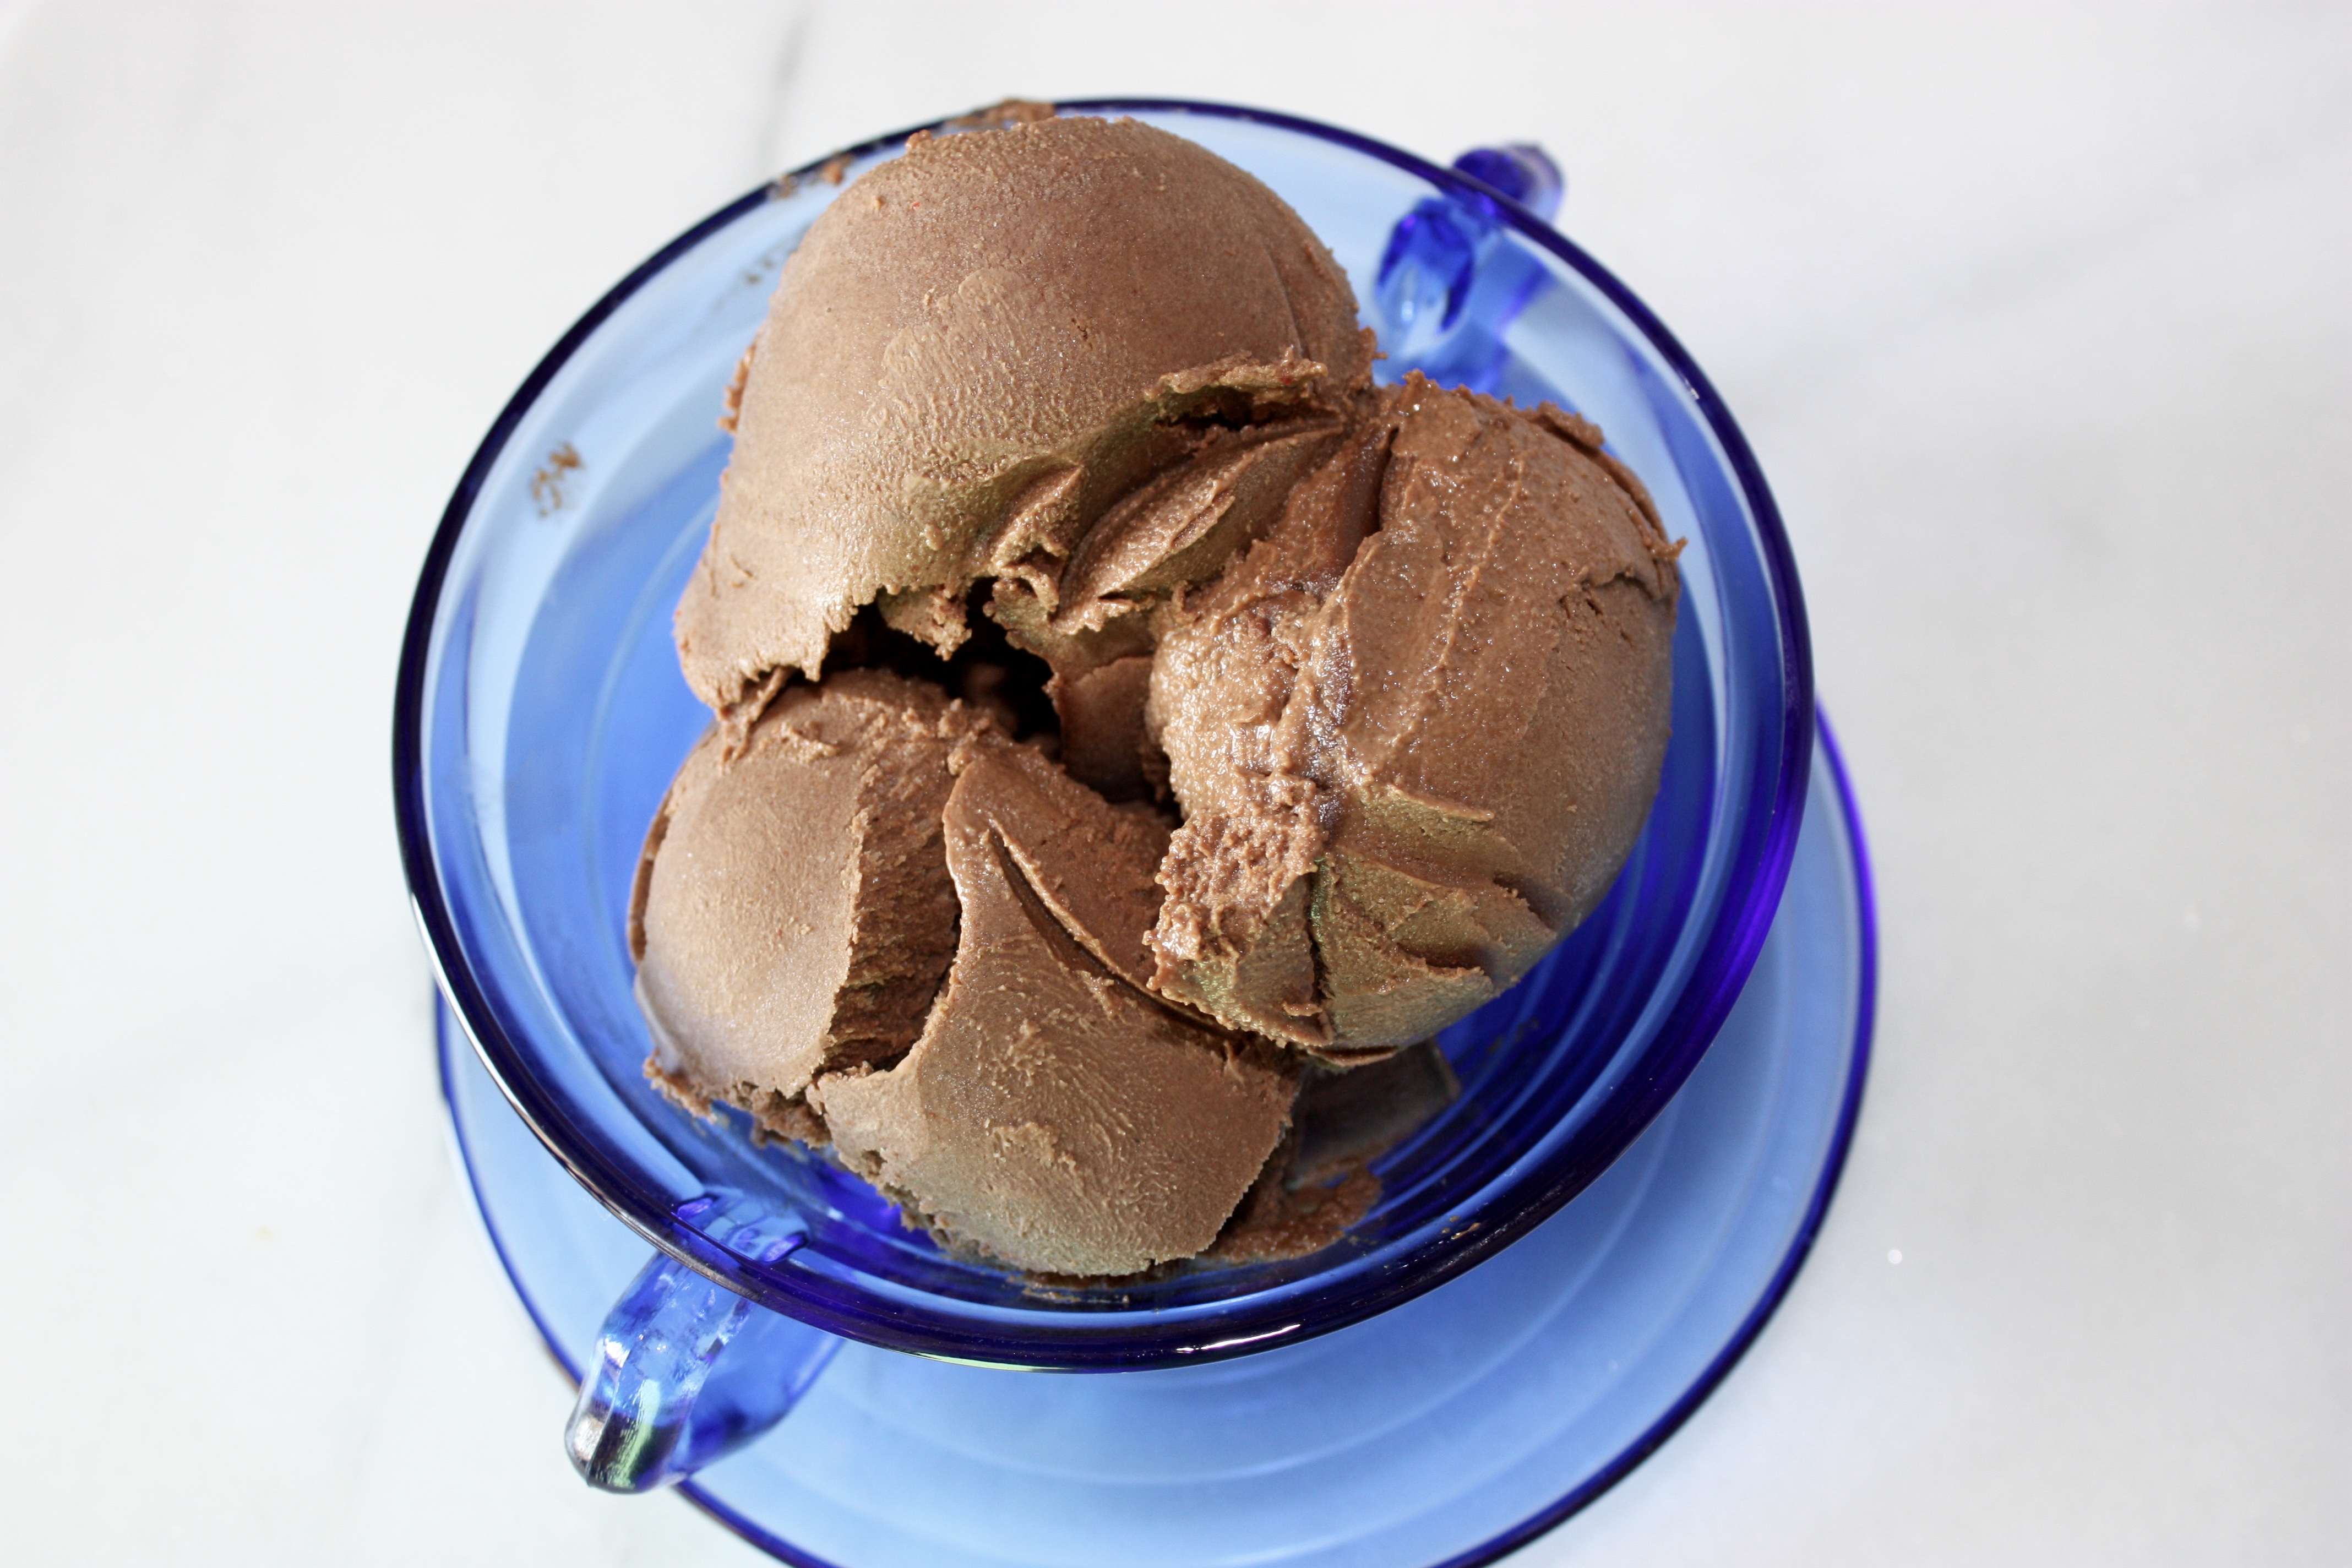
When you’re ready to dive in, let this soften on the counter for 15 mins before serving. Rich, creamy, decadent; it is everything an ice cream should be.
xoxx,
Miss AK
Credit: Danielle Walker, Against All Grain
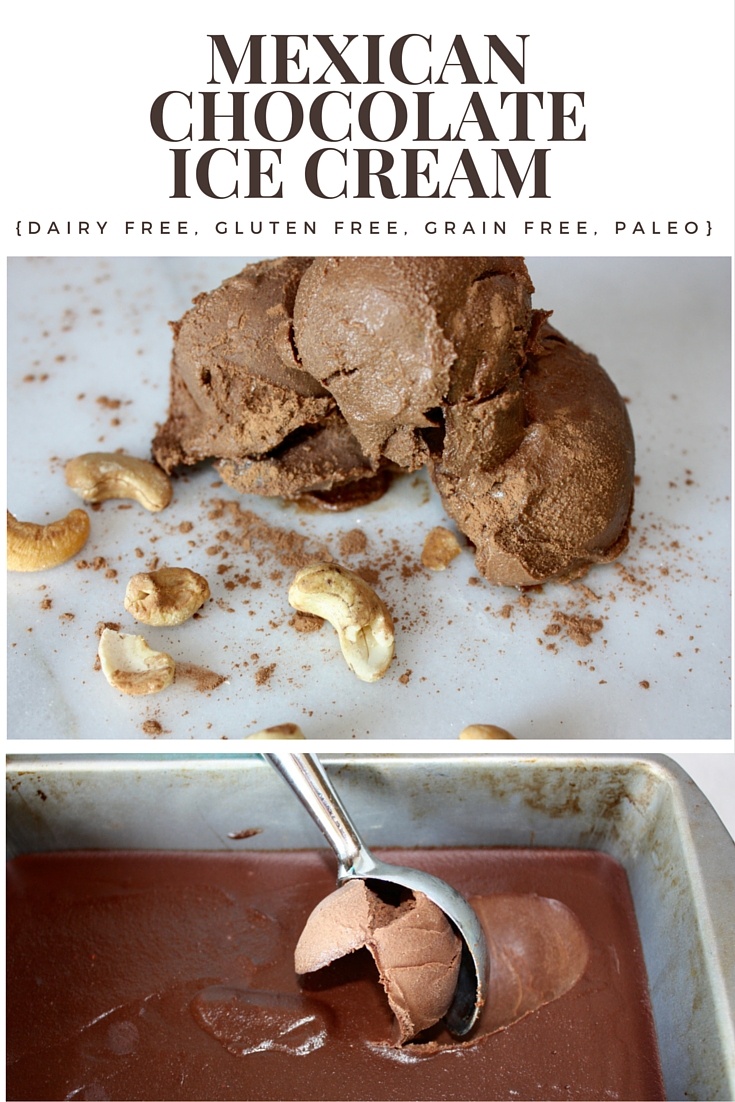
Mexican Chocolate Ice Cream {gluten free, grain free, dairy free}
{dairy free, gluten free, grain free, paleo}
- Prep Time: 2 hours 20 mins
- Cook Time: 6 hours
- Total Time: 8 hours 20 mins
- Yield: 8 1x
Ingredients
- 2 1/2 cups of raw, UNSALTED cashews
- 1 1/2 cups of water, divided (1/4 for gelatin, 1 1/4 for blending)
- 1 1/2 tsp of UNFLAVORED gelatin
- 1 1/4 cups of PURE maple syrup
- 1 1/2 oz UNSWEETENED chocolate (baking chocolate)
- 1/2 cup of UNSWEETENED cocoa powder
- 1 tsp vanilla extract
- 3/4 tsp of ground cinnamon
- 3/4 tsp of lemon juice
- 1/2 tsp of
chilli powder - 1/4 tsp of cayenne powder
- 1/4 tsp sea salt
Instructions
- You’ll start by soaking your cashews in a bowl of water for two hours.
- When the cashews have almost finished soaking, place 1/4 cup of water into a medium saucepan with the gelatin to allow it to bloom for 10 mins.
- When your cashews have soaked, drain and rinse them really well.
- Place them into a blender with the 1 and 1/4 cups of water and maple syrup and blend on low for 30 seconds and for an additional minute on high.
- Pour your cashew milk into the saucepan with the gelatin and water and heat over medium until the gelatin has dissolved.
- You’ll notice that the mixture gets significantly thicker; I recommend stirring it with a whisk constantly as it does so.
- Remove this from the heat and add in the chopped UNSWEETENED chocolate. Stir until that melts and pour the mixture back into the blender.
- Add
in the cocoa powder, lemon juice, chili powder, cayenne, & salt to the blender. - Blend on high for one minute.
- Pour mixture into a loaf pan or small dish and pop it into the freezer for an hour.
- Remove it, and cover the top with plastic wrap, pressing it into the ice cream.
- Freeze for an additional 6 hours.
- Let this soften on the counter for 15 mins before serving.
DON’T FORGET TO PIN THIS FOR LATER:

What a delicious ice cream! I hate to use an ice cream maker because it can be a hassle to get it out and ready. I love this technique – & flavor, too 😉
It is SO good! And yes, I totally agree. I’m so not a gadget girl, I hate cleaning them!
Can’t get over how good this looks! It’s nice not to need an ice cream maker for it, too– I agree with Megan..they can be a pain to clean!
Right!!!!! I can’t do too many gadgets, I’m messy enough as it is!
oh my I do love my spice and chocolate combo, so this I know will be out of this world! But isn’t that truly the best part of blogging Allie? I love connecting with people that have the same focus and goals as me!
xo,
SarahGrace
So yummy!!! But yes!! Totally the best part!!
OMG!!!! i have all the ingredients for this in the pantry!! I have to try this!
Yay! Let me know how it goes!
Hats off to Danielle for bravely battling the autoimmune disease. Food is an important weapon to tackle this monster and I am glad Danielle is sharing her recipes that worked for her.