Miss Allie's Kitchen
Whole & Healthy Home Cooking
Start Here
Recipes
Shop
Jewelry Line
Cookbook
Resources
Cookbook
Kitchen Essentials
How to Cook Venison
5 Venison Cooking Hacks
Start Here
Recipes
Wild Game
Easy Dinners
Breakfast Ideas
Sweets
Drinks
All Recipes
Shop
Jewelry Line
Cookbook
Resources
Cookbook
Kitchen Essentials
How to Cook Venison
5 Venison Cooking Hacks
Venison Everyday Cookbook
Buy Now
Wild Game
Easy Dinners
Breakfast Ideas
Drinks
Sweets
Venison Everyday Cookbook
Buy Now
Life + More
What Is Venison Meat?
10 Easy Bowl Recipes: For Breakfast, Lunch, Dinner and Meal Prep
10 High Protein Dinner Recipes
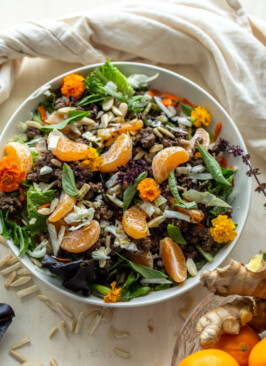
Ground Venison Chopped Asian Salad
Back to School Essentials | Easy Meals + Must Have Items
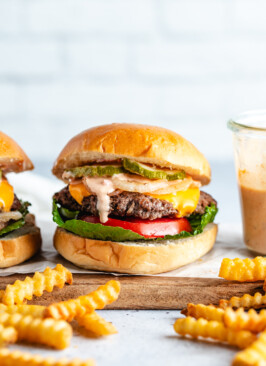
9 Juicy & Delicious Wild Game Burger Recipes | Plus My Go-To Burger Sauce Recipe
Totally Addicting Granola Recipe
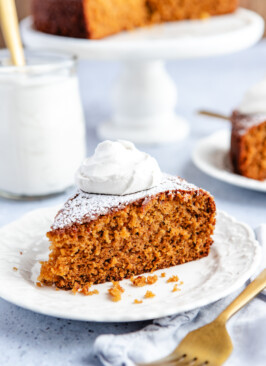
Fresh Ginger & Orange Cake
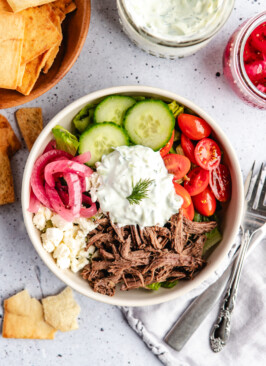
Greek-Inspired Venison Power Bowls
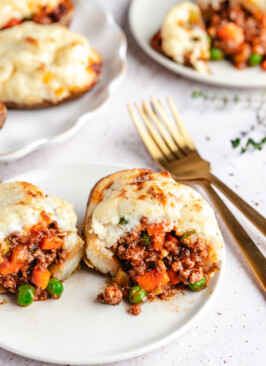
Shepherd’s Pie Stuffed Potatoes | Twice Baked Potatoes with Shepherd’s Pie Filling
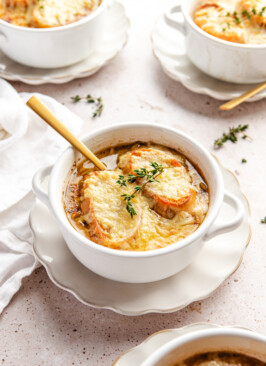
Easy French Onion Soup with Braised Meat | High Protein French Onion Soup
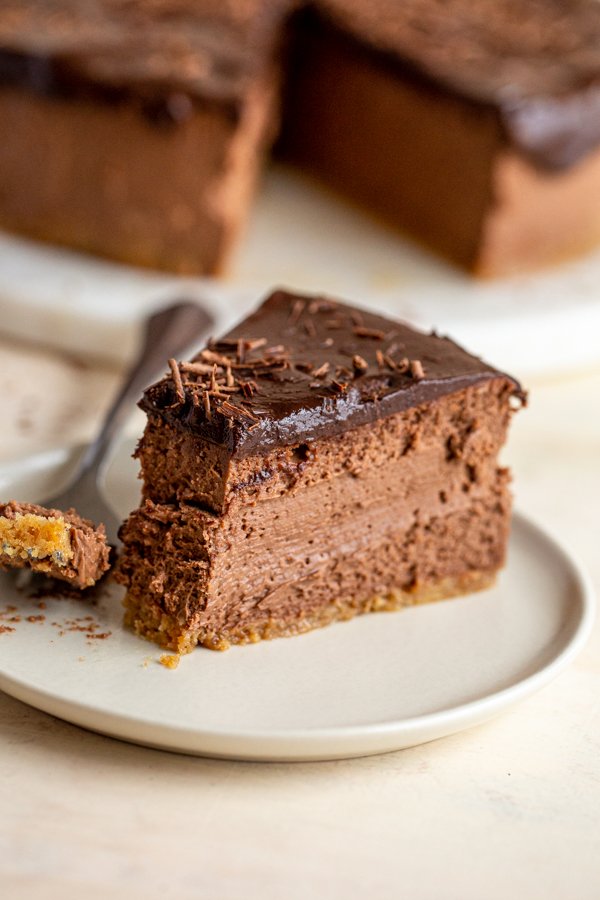
The Best Chocolate Dessert Recipes
1
2
3
…
9
NEXT