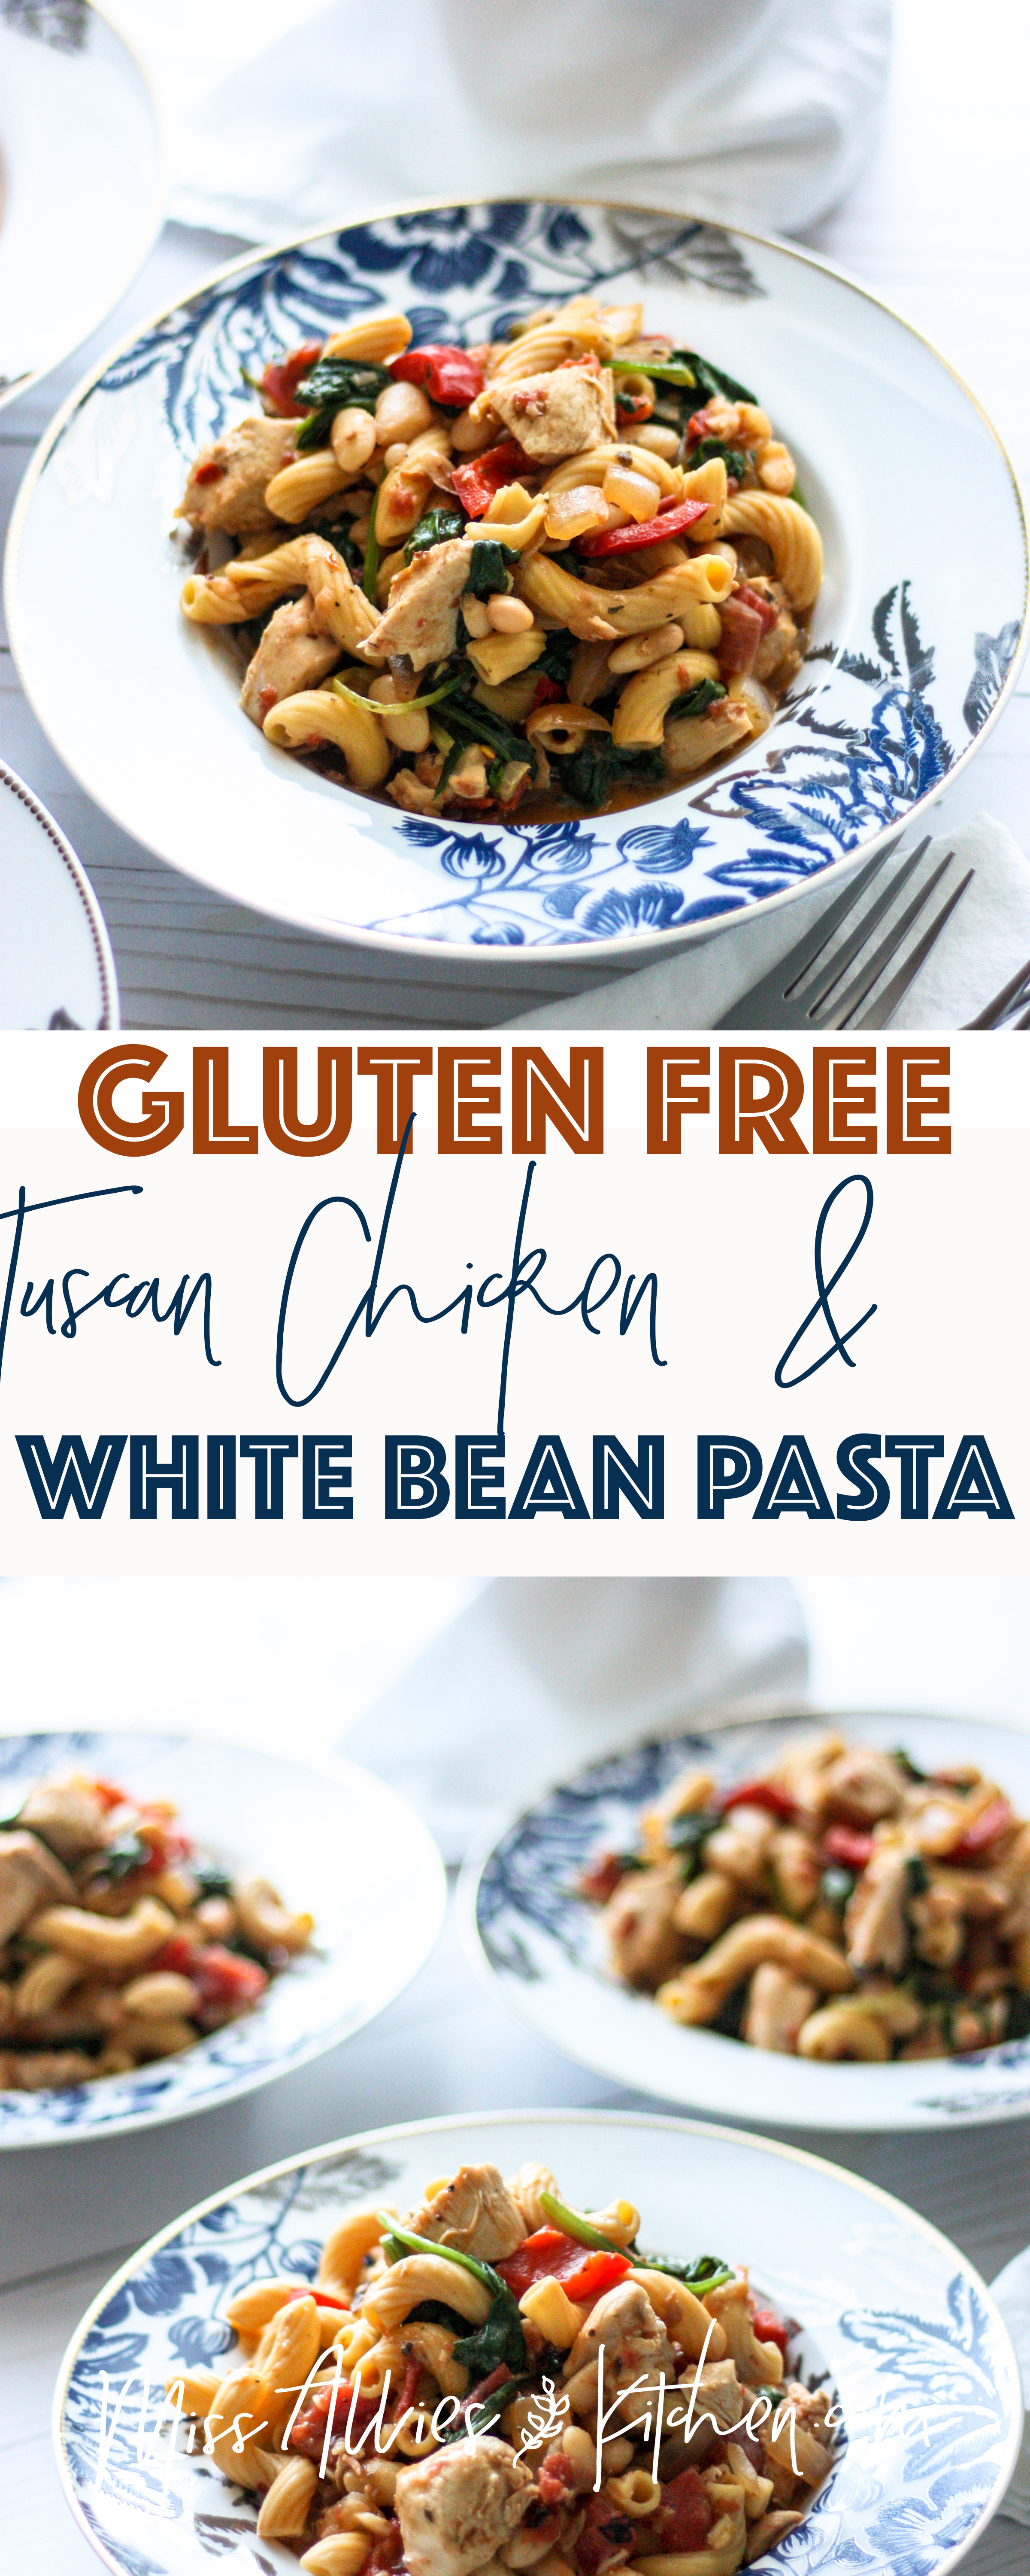
Pasta night is back with this hearty and comforting Tuscan Chicken and White Bean Pasta! Gluten-free option included!

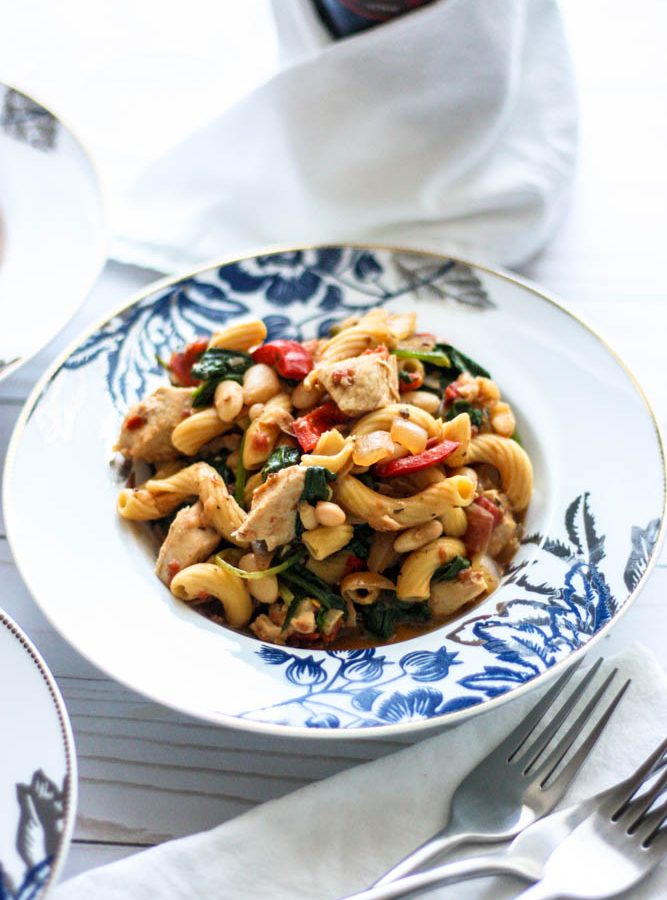
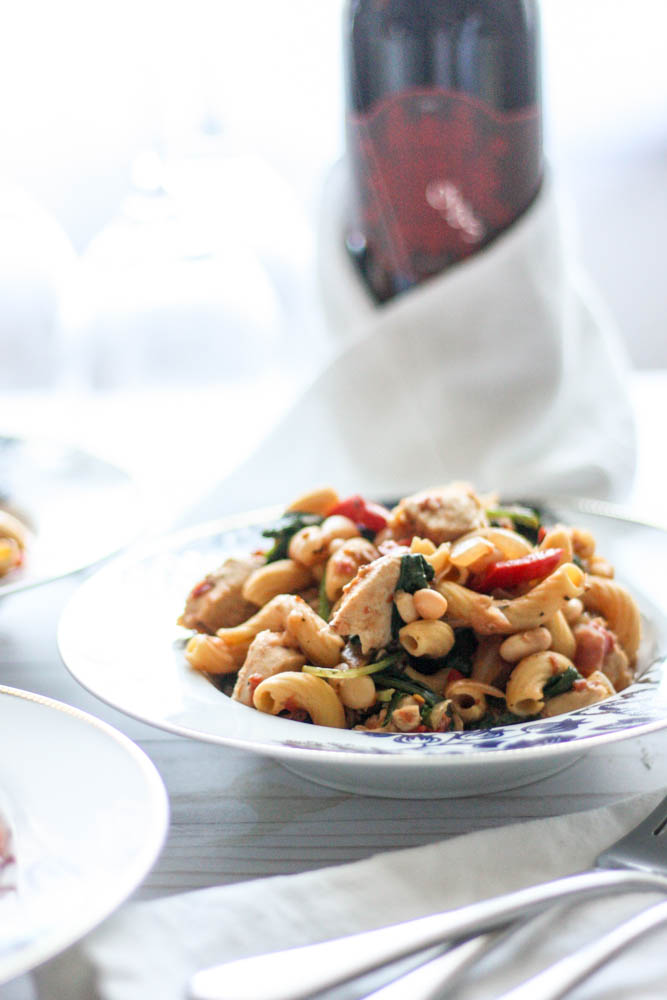
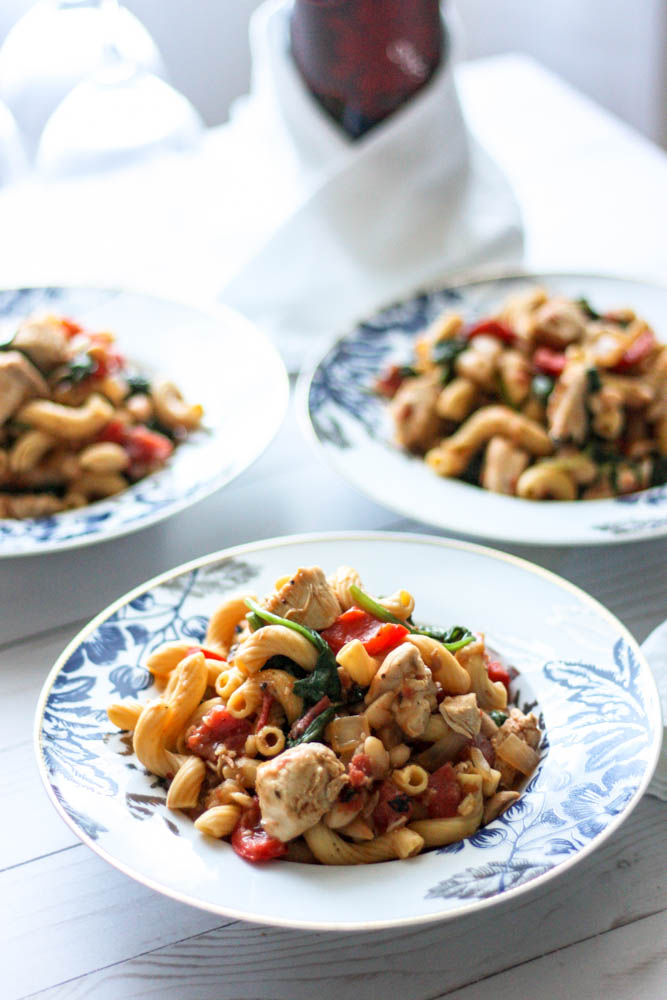
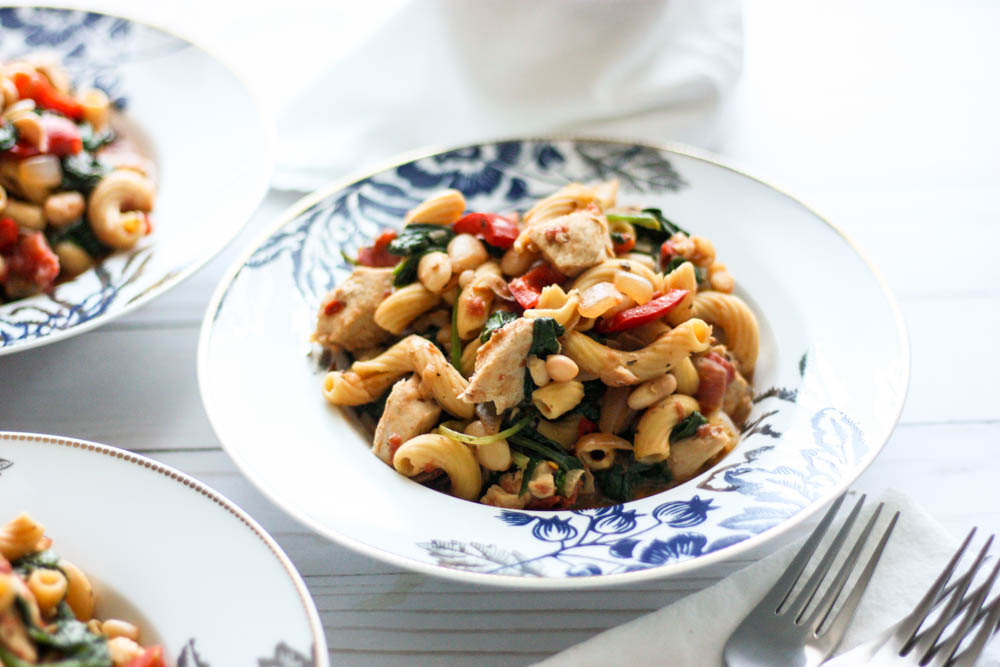
Tuscan Chicken and White Bean Pasta
When I was in Italy about a year and a half ago, in Tuscany, I had the most wonderful white bean crostini. It was accompanied by a salad with lettuce so fresh I could feel it’s leaves burst and crinkle right as they hit my teeth. Which, was a welcome thing because I seriously missed my greens while I was in Italy. I actually think I ate an entire head myself.
The bread, pasta, and pizza are undoubtedly higher quality, but I’m just not someone who can survive off of bread or biscotti and a few sliced of cured meat for breakfast. I need some veggies and serious protein if I’m going to be exploring all day.

Anyway, there was something about the way the softly boiled beans married with the flecks of juicy tomato atop the crusty bread. If you ask me, that’s Tuscany in a bite. SO, I decided to recreate that little crostini and transform it into dinner form and added some serious green action along the way. That’s how this pasta came to be.

It’s a touch creamy, and it has an unctuous flavor created from the fire roasted tomatoes and the coconut milk. Oh yeah, while we’re on the coconut milk, it’s actually totally dairy free, which is pretty neat for you dairy-free friends out there. I also used Banza pasta because they were kind enough to stock me up with a new box when I was traveling two weeks ago. If you haven’t heard, their pasta is made from chickpeas, so it’s gluten-free. I’m a fan, and I’m also a pasta snob. So, if GF is on your agenda, go ahead and try Banza, but if not, regular pasta would be just dandy.
Alrighty then – Let’s get to it!
WHAT YOU’LL NEED (increments below in the printout):
Pasta – Banza worked well for me for a GF version
Chicken
Great northern beans – I used dried, but canned will work great, too. If beans usually give you tummy troubles, try using dried and cooking from scratch as I did. It helps!
Onion
Red pepper
Spinach
Garlic
Fire roasted tomatoes (find them right next to the diced tomatoes – Hunt’s & Muir Glen have nice varieties)
Full fat coconut milk
Italian seasoning (I use the organic version from Aldi – watch out for freak preservatives in pre-blended spices)
EVOO
Salt
Pepper
WHAT YOU’LL DO:
If you’re using dried beans, go ahead and soak them in 4 cups of water overnight. About an hour before you’re ready to start the dish, drain the water. Add the beans to a large stockpot and cover with fresh water by at least an inch. Bring the water to a boil. Boil for 5 minutes, and turn the burner to medium-low, and simmer for about an hour, or until the beans are tender. Drain when cooked. If you have a sensitivity to beans, I recommend this method. If you’re using canned beans, skip this step!
Now, cook your pasta. Bring water to a boil and cook according to the package directions, but decrease the cooking time by 1-2 minutes. Drain the pasta, rinse in cold water and drizzle with olive oil to prevent sticking. This is especially important to do with the Banza pasta so it stays al-dente.
Chop your onion and red pepper and dice the garlic and set aside. Cube the chicken and heat a large skillet over medium heat with the olive oil. Add the chicken and brown. Remove it from the pan and set aside. Next, add the onions and peppers and saute. Once translucent, add the fire roasted tomatoes, garlic, Italian seasoning, salt, and pepper. Cook for 1-2 minutes.
Add the coconut milk and mix well. Once incorporated, add the beans and chicken back to the pan. Bring the mixture to a slow boil and reduce to medium-low. Let this reduce for about 8 minutes, uncovered to thicken.
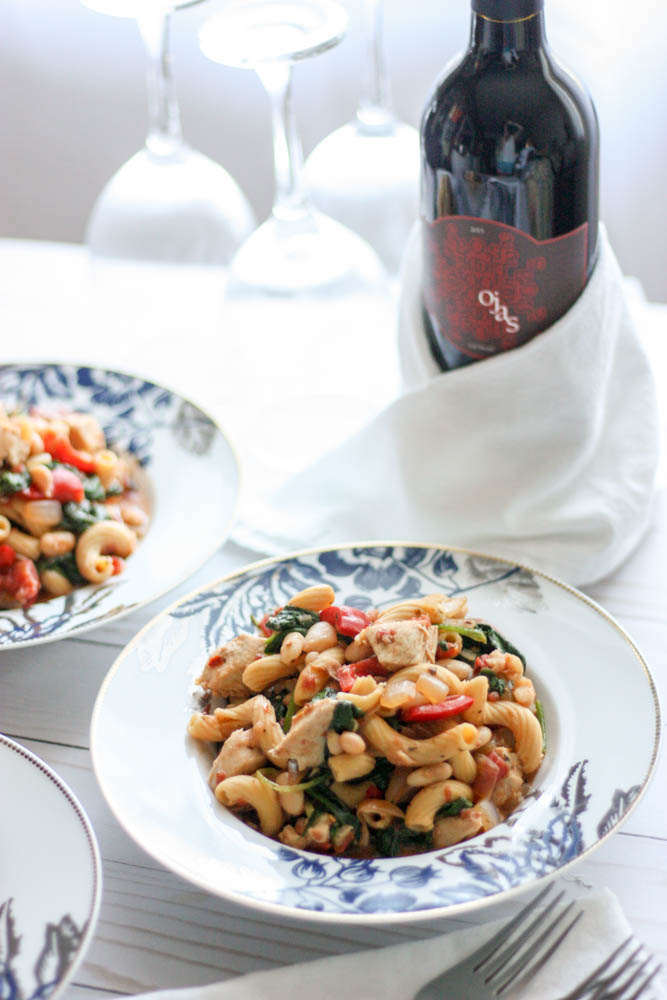
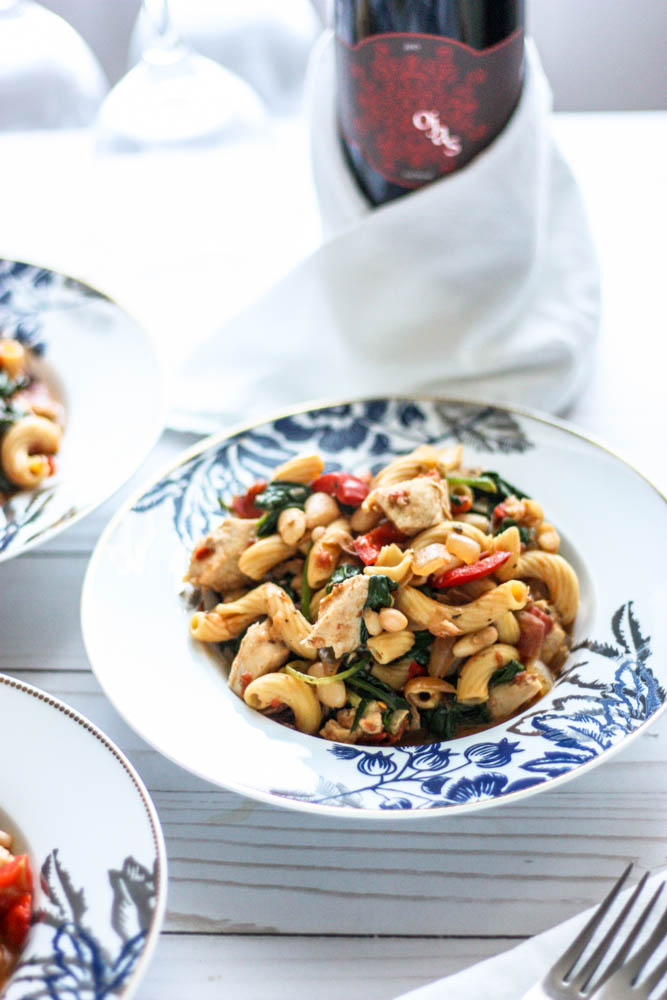
Pour the pasta back into the stock pot it was cooked in. Remove the sauce from the heat and stir in all of the spinach. Pour over the pasta in the pot and mix well. If you’re not dairy free, this pairs wonderfully with a bit of grated parmesan & a robust bottle of red wine.
xoxx,
Miss AK
Instagram – https://www.instagram.com/miss.allieskitchen/
Facebook – https://www.facebook.com/missallieskitchen/
Pinterest – https://www.pinterest.com/miss_ak/
Twitter – https://twitter.com/missallieskitch

Ingredients
- roughly 2 Tbsp. EVOO
- 1 lb. pasta – Banza worked well for me for a GF version
- 1.5 lb. boneless skinless chicken breast, cubed
- 2 c. cooked great northern beans
- 1 onion, diced
- 1 red pepper, diced
- 2 garlic cloves, minced
- 1 14 oz. can fire roasted tomatoes (find them right next to the diced tomatoes – Hunt’s & Muir Glen have nice varieties)
- 1 14oz. can full-fat coconut milk
- 1 Tablespoon. + 1 teaspoon Italian seasoning (I use the organic version from Aldi – watch out for freak preservatives in pre-blended spices)
- 1 teaspoon salt
- 1/2 teaspoon. coarsely ground black pepper
- 5-6 c. spinach
Instructions
- If you’re using dried beans, go ahead and soak them in 4 cups of water overnight. About an hour before you’re ready to start the dish, drain the water. Add the beans to a large stockpot and cover with fresh water by at least an inch. Bring the water to a boil. Boil for 5 minutes, and turn the burner to medium-low, and simmer for about an hour, or until the beans are tender. Drain when cooked. If you have a sensitivity to beans, I recommend this method. If you’re using canned beans, skip this step!
- Now, cook your pasta. Bring water to a boil and cook according to the package directions, but decrease the cooking time by 1-2 minutes. Drain the pasta, rinse in cold water and drizzle with olive oil to prevent sticking. This is especially important to do with the Banza pasta so it stays al-dente.
- Chop your onion and red pepper and dice the garlic and set aside.
- Cube the chicken and heat a large skillet over medium heat with the olive oil. Add the chicken and brown. Remove it from the pan and set aside.
- Next, add the onions and peppers and saute. Once translucent, add the fire roasted tomatoes, garlic, Italian seasoning, salt, and pepper. Cook for 1-2 minutes.
- Add the coconut milk and mix well. Once incorporated, add the beans and chicken back to the pan. Bring the mixture to a slow boil and reduce to medium-low. Let this reduce for about 8 minutes, uncovered to thicken.
- Pour the pasta back into the stock pot it was cooked in. Remove the sauce from the heat and stir in all of the spinach. Pour over the pasta in the pot and mix well. If you’re not dairy free, this pairs wonderfully with a bit of grated parmesan & a robust bottle of red wine.